The first thing we did was cut out the heart and trace it onto the wood wherever we wanted. I placed mine in the lower-middle-right part of the wood. I'm not sure how to describe it exactly. Look at the picture later in this post for reference!
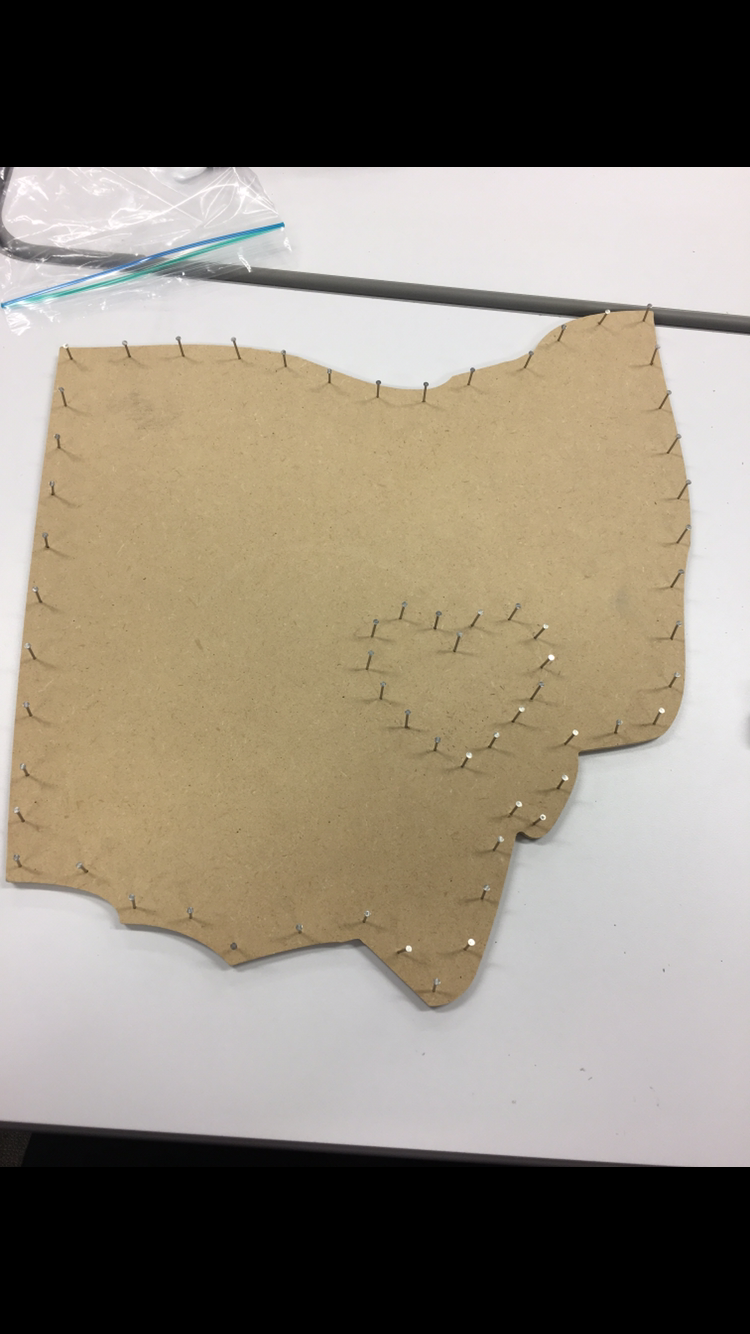
Next, it was time to start hammering in the nails! We had to be careful not to hammer them into the wood too far so that the nail went completely through it. First, we hammered in the nails on the heart, and then we did the nails around the edges of Ohio. Here is a picture of my project after all of my nails were in.
Next, it was time to add the string! I started with the heart with pink string. I randomly went from nail-to-nail in the heart until I was satisfied with what it looked like. Then, I did black and white string in the area surrounding the heart. I kept going back and forth from the middle to the outside around the heart.
I also did the border of the wood with string. I switched back and forth between black and white string. This part was very time-consuming, but I think it was worth it!
I am very glad that I got the opportunity to make string art. This was my first time, and I had a lot of fun! Here is a picture of my final product.

No comments:
Post a Comment